Learn how to build a digital clock with Arduino, RTC module, and LCD display in this guide.
How to Build a Simple Digital Clock Using Arduino
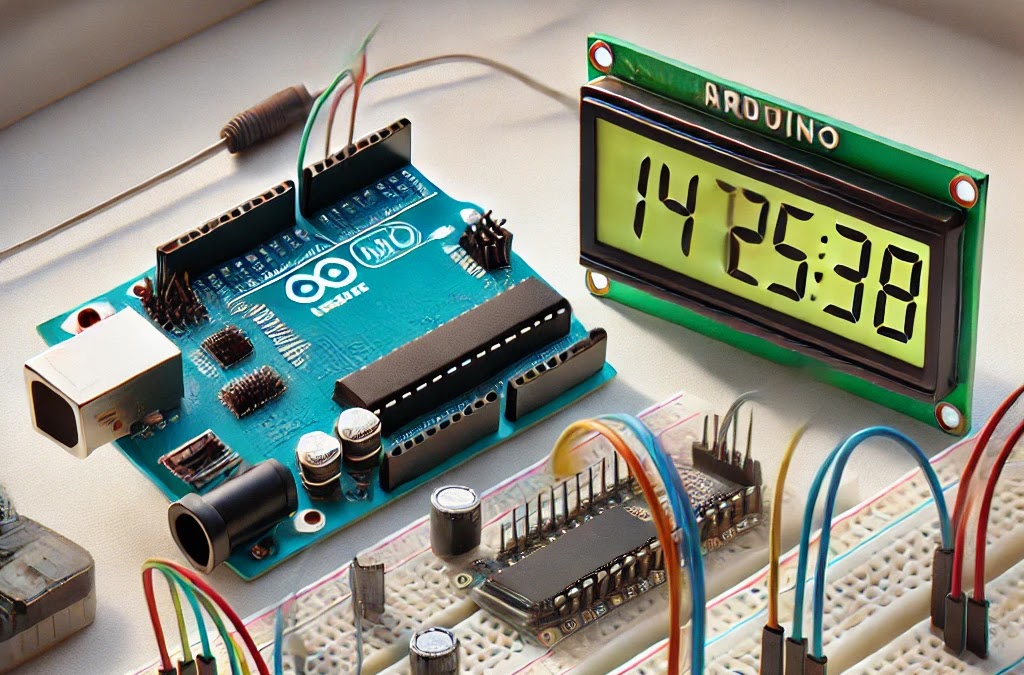
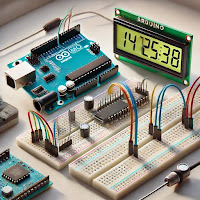
Building a digital clock using Arduino is a fun and educational project that introduces key concepts in electronics and programming. With a few components, you can construct a fully functional digital clock that displays hours, minutes, and seconds. In this guide, we’ll go through the step-by-step process of creating a digital clock using an Arduino board, an RTC (Real-Time Clock) module , and an LCD display. Required Components: Arduino Board (e.g., Arduino Uno or Nano) : This will be the brain of your digital clock. RTC Module (DS3231 or DS1307) : A real-time clock module to maintain accurate time even when the Arduino is powered off. 16x2 LCD Display : To display the time. Potentiometer (10K) : To adjust the contrast of the LCD. Breadboard and Jumper Wires : For connecting the components. Resistors (220 ohms) : For current limiting, used in conjunction with the LCD backlight. Push buttons : Optional, for setting the time manually if desired. Power Supply (USB or External) : To power the Arduino. Circ…
About the author
Prasun Barua is a graduate engineer in Electrical and Electronic Engineering with a passion for simplifying complex technical concepts for learners and professionals alike. He has authored numerous highly regarded books covering a wide range of elec…